
Installing Ubuntu Server on a Raspberry PI 4 with an external SSD
My preferred home server is a Raspberry Pi 4 running Ubuntu Server using an external USB SSD drive - here is how I get it running on the network.
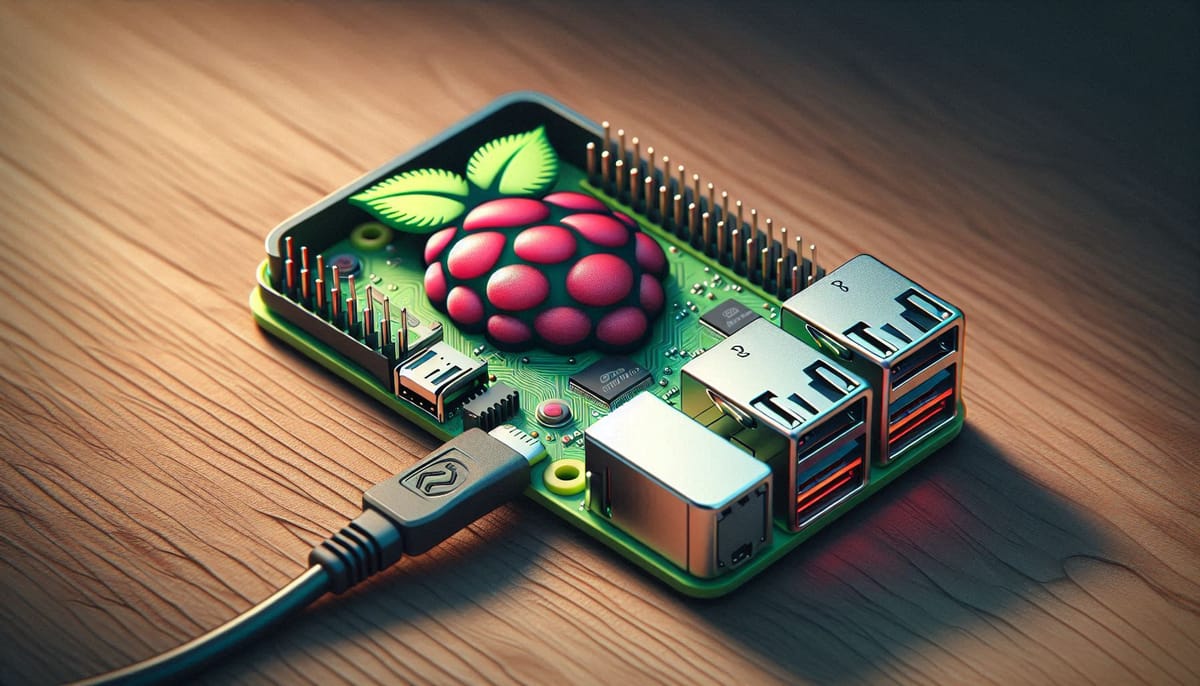
My preferred small home server is a Raspberry Pi 4 (4GB or 8GB) running Ubuntu Server from an external USB SSD. It is inexpensive, it is silent, it idles at around 3–6 watts, and if you power it over Ethernet — a PoE switch feeding power down the network cable, so the Pi needs no separate PSU — there is a single cable to the whole machine. Running from an SSD rather than a microSD card matters: a server writes to its disk constantly — logs, databases, package updates — and cheap SD cards wear out and corrupt under that load within months. An SSD is faster, far more durable, and large enough to actually do something with.
If you have a Pi 5, everything here still applies but you can boot from an NVMe SSD on the PCIe connector instead of USB, which is faster again. Wherever this guide says “SSD”, use the NVMe drive — and you can skip the Enable USB boot section entirely, since the Pi 5 already boots from USB and NVMe out of the box.
You will need
- A Raspberry Pi 4 and an SSD in a USB enclosure. (On a Pi 5, an NVMe SSD on an M.2 HAT instead — note that is a separate board from the PoE HAT below.)
- A microSD card you can spare for a few minutes — only needed for the USB-boot step, so Pi 5 owners can skip it.
- A computer with an SD card slot and Raspberry Pi Imager installed.
- Optionally, a PoE (Pi 4) or PoE+ (Pi 5) HAT and a PoE switch, if you want the single-cable setup.
Any reasonable SATA SSD will do. The one thing worth caring about is the USB enclosure: buy one with a bridge chip from a name you recognise. The very cheapest no-name enclosures sometimes have flaky USB-to-SATA electronics that drop the drive off the bus under load, which is miserable to diagnose once the machine is in service.
Enable USB boot on the Pi
On a Pi 5, skip this section — it boots from USB and NVMe by default. This step is only for the Pi 4.
The Raspberry Pi decides what to boot from using an order stored in a small EEPROM on the board itself, before Linux is anywhere in the picture. Older Pi 4 units shipped only looking at the microSD slot, so before the Pi will boot from an external drive you have to tell that EEPROM to try USB as well. (Recent Pi 4s already do this out of the box — running the step below anyway is harmless.)
The tidiest way to change it is a purpose-built image from Raspberry Pi Imager that does exactly one thing: on boot, it rewrites the EEPROM boot order and stops. Insert the microSD card and open Raspberry Pi Imager. Under Choose Device select Raspberry Pi 4. Under Choose OS pick Misc utility images > Bootloader (Pi 4 family) > USB Boot. Choose the microSD card as the storage and write it.
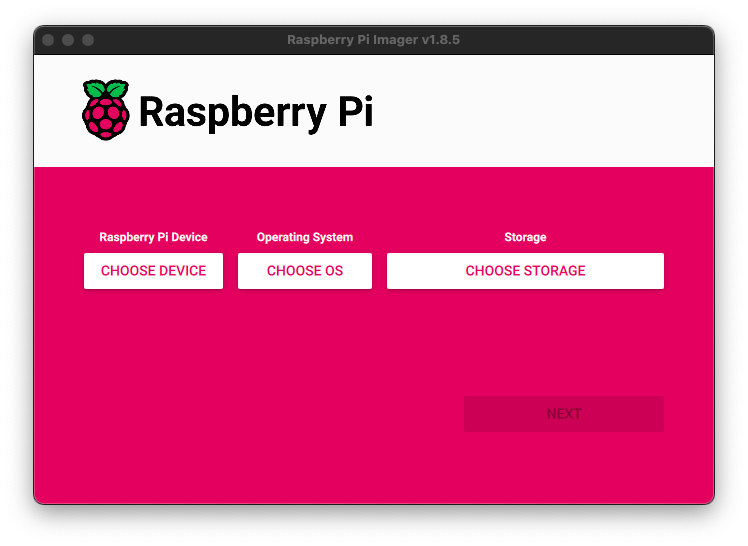
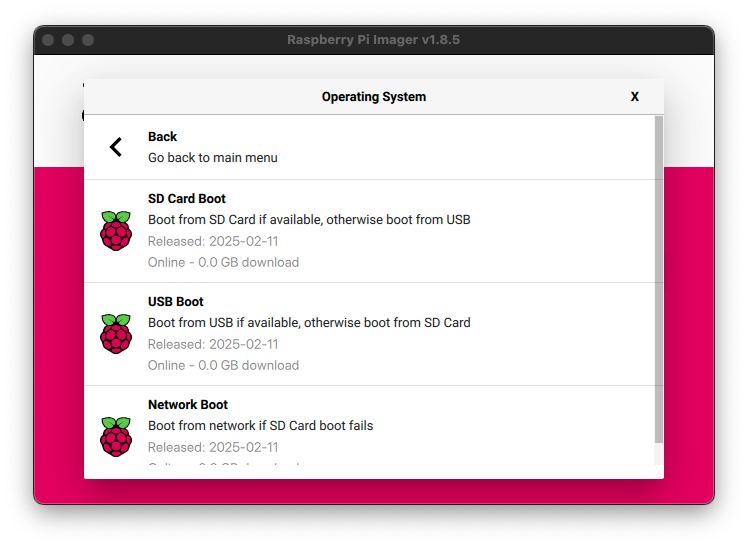
Put the card in the Pi and power it on with nothing else attached. After a few seconds the green activity LED will settle into a steady, regular blink — that is the “done, and successful” signal. Power the Pi off, remove the microSD card, and set it aside; it has done its job and is not needed again.
If you would rather not juggle a second card, you can change the same setting on a Pi that is already running Raspberry Pi OS or Ubuntu with sudo raspi-config (Advanced Options > Boot Order), or by hand with rpi-eeprom-config. The one-shot image is just the least fiddly on a fresh machine.
Write Ubuntu Server to the SSD
Put the SSD in its enclosure and connect it to your computer, where it will show up like any other external drive. Back in Raspberry Pi Imager, with the device still set to Raspberry Pi 4, choose Other general-purpose OS > Ubuntu > Ubuntu Server (64-bit). Always take the latest LTS release: LTS images get five years of security updates, which is what you want under something you intend to leave running and stop thinking about. Select the SSD as the storage — double-check you have picked the external drive and not your computer’s own disk, because the write is destructive — and click Next.
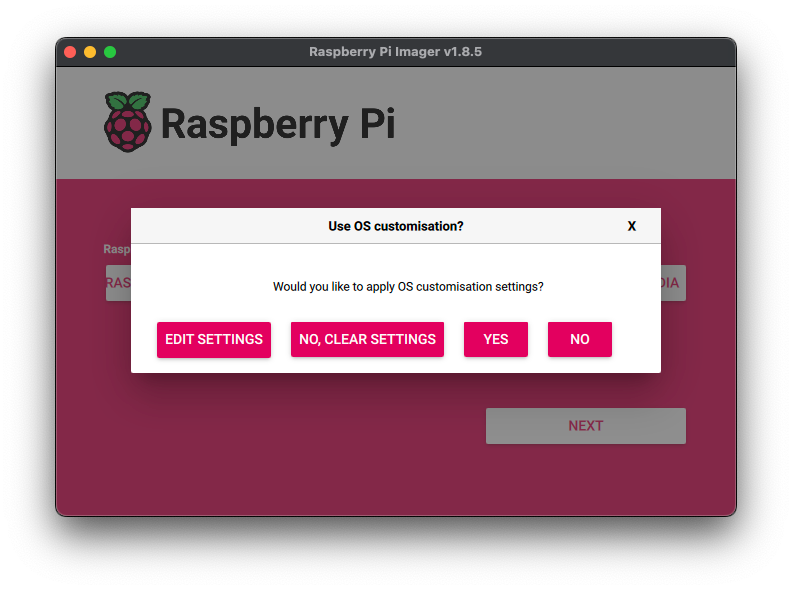
When it asks, choose Edit Settings. This is the part that makes a headless install painless: the settings you enter here are baked into the image and applied by cloud-init the first time the Pi boots, so the machine comes up already named, with your account created and SSH running, and you never need to attach a monitor or keyboard.
- General tab: set a hostname, the username and password for the first account, and your time zone and keyboard layout.
- Services tab: enable SSH. Password authentication is fine to get started; if you already have an SSH key pair, paste the public key instead and you will never type a password at all.
Save, write the image to the SSD, and eject it when the write finishes and verifies.
Set a domain name (optional)
If you run internal DNS, or you own a domain you want this host to sit under, you can set its fully-qualified domain name before first boot so it is correct from the very start rather than something you fix up later.
Plug the SSD back into your computer; the small first partition mounts as system-boot. Open the file user-data on it and add the hostname and FQDN at the top. Use a real plain-text editor and keep the filename exactly as it is — on macOS, TextEdit will try to add an extension or save rich text, so it is easier to run nano /Volumes/system-boot/user-data in Terminal; on Windows, use an editor that will not append .txt.
#cloud-config
hostname: myserver
fqdn: myserver.home.arpa
manage_etc_hosts: true
A couple of notes on that. manage_etc_hosts: true lets cloud-init keep /etc/hosts consistent with the name you chose, which stops sudo and other tools that look up the machine’s own name from pausing for a DNS timeout. And home.arpa is the domain RFC 8375 reserves for home networks: it will never clash with a real top-level domain, and well-behaved resolvers know not to forward it to the public internet. Use that, a subdomain of a domain you own, or whatever your own internal DNS already serves. Save the file and eject the drive.
First boot
Connect the SSD and an Ethernet cable to the Pi and power it up — a PoE HAT will take power straight from the switch, so that really is the only cable. Give the first boot a few minutes: cloud-init grows the filesystem to fill the SSD, applies everything you set in Imager, and often reboots once on its own along the way.
If the Pi never appears on the network, work back from the hardware. Give it longer — the very first boot can take several minutes, more if cloud-init reboots partway. Check the LEDs: solid red is power, and the green light should be flickering with disk activity. A common cause is power: a hungry SSD drawing through a PoE HAT can brown the board out, so if it will not come up, try a proper USB-C power supply instead of PoE, and reseat the drive in its enclosure.
By default your router hands the Pi whatever address is free in its DHCP pool, and that can change the next time the lease expires or the router restarts — not what you want for something you SSH into by name. Open your router’s admin pages, find the Pi in the DHCP client list, and set a reservation so it always gets the same address. Where that lives varies:
| Router | Menu navigation |
|---|---|
| UniFi | Client Devices > hostname > Settings > Fixed IP Address |
| Home Hub | My Devices > hostname > Change Settings > Always Use This IP Address |
| TP-Link | Advanced > Network > DHCP Server > Address Reservation > Add |
| eero | App > Settings > Network Settings > Reservations & Port Forwarding > hostname > Set Address |
If you would rather, assign a static address from outside the DHCP pool and reboot the Pi so it picks the new one up. If you segment your network with VLANs or firewall zones, move the Pi to where it belongs now. And if you run local DNS, add its record so the name resolves.
Then connect from your own machine (Terminal on macOS or Linux, Windows Terminal or PowerShell on Windows), using the username you set in Imager and the hostname you gave the Pi:
ssh username@myserver
If the name does not resolve — you have no local DNS, or the record has not caught up — use the address you just found in the router instead. So if the Pi came up on 192.168.1.50, that would be:
ssh username@192.168.1.50
The first time you connect, SSH will show you the Pi’s host key fingerprint and ask whether to trust it — type yes. Then enter the password you set in Imager (or, if you supplied a public key, you will not be asked for one). You should land at a shell prompt on the Pi.
One security check before you carry on
Some recent Ubuntu images leave the first account able to run sudo without a password, courtesy of a file cloud-init drops in. It is convenient, but it means anything running as that user — or anyone who gets hold of a logged-in session — has instant root with no further check. Remove it so sudo always asks:
sudo rm -f /etc/sudoers.d/90-cloud-init-users
Then give root a password (worth having for console or recovery access even though you will rarely use it — keep it in a password manager), and bring the system fully up to date:
sudo passwd root
sudo apt update && sudo apt full-upgrade -y
full-upgrade rather than plain upgrade because it is allowed to add and remove packages where an update needs it — kernel transitions in particular.
With a clean, patched, reachable machine, move on to configuring the server.